How to Pick the Best Apples: Weight, Aroma, Skin, Bruise Checks
Fruit Waste Frustrations: Why They Happen
We've all been there: excitedly buying a bag of apples, only to find them mealy or rotten within days. This frustration is often due to picking apples that are past their prime or bruising during transport home. Understanding what goes wrong can help us choose better apples and store them correctly.
Fast Rules for Buying Apples
- Choose apples that feel heavy for their size.
- Look for vibrant skin color without any dull patches.
- Avoid apples with visible bruises.
- Give them a sniff; they should smell fresh and fruity.
- Inspect for any signs of mold near the stem.
- Prefer blemish-free apples for longer storage.
- Store different varieties separately to prevent ethylene damage.
- Keep them in a cool, dry place if storing for a short time.
- For longer storage, place in the refrigerator away from strong-smelling foods.
Buying Checklist: Choosing the Right Apples
Here’s how to choose the best apples when you’re in the store:
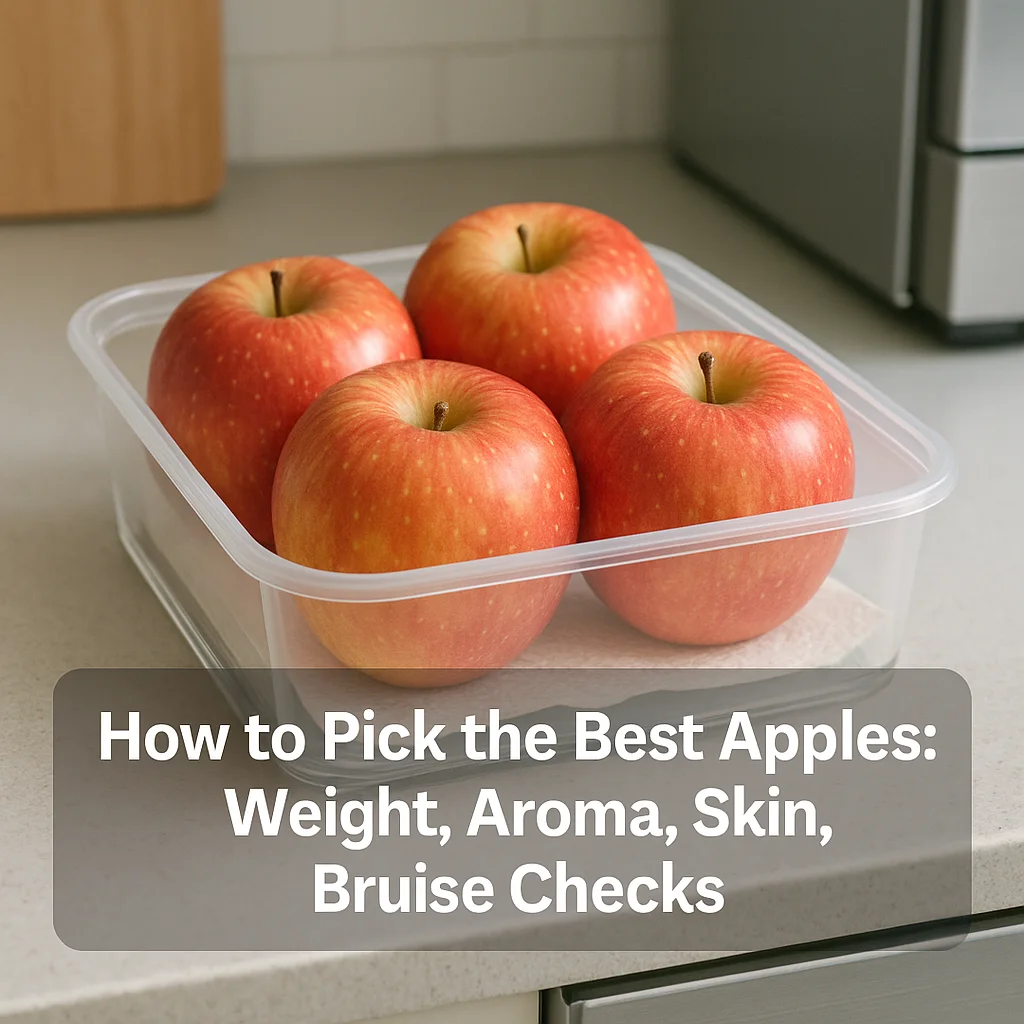
- Weight: Pick up the apple—it should feel firm and heavy for its size, indicating moisture content and freshness.
- Aroma: Use your nose; a fresh, fruity smell is a good indicator of ripeness.
- Skin: Inspect the skin; it should be smooth and free from wrinkles and soft spots.
- Bruises: Gently press the apple's surface to check for any signs of bruising or dark spots.
- Color: Look for bright, uniform coloring; variations might indicate uneven ripening.
- Stem area: Avoid apples with mold or decay near the stem.
The Real Fix: Step-by-Step Solution
To keep your apples fresh and delicious, your goal is to control moisture while preventing ethylene buildup and avoiding temperature swings. Here's how:
- Weight Check: Before storing, discard any apples that feel unusually light—they may be dehydrated or damaged.
- Wipe Dry: Gently wipe apples with a dry paper towel to remove any surface moisture that could hasten mold growth.
- Store Separately: Keep apples in a vented container or loosely tied plastic bag for air circulation, separate from ethylene-sensitive produce.
- Fridge Drawer: Place apples in the crisper drawer, the coldest area without freezing. This inhibits ethylene release and slows ripening.
- Aroma Alert: If an apple smells overly sweet or fermented, it's overripe and should be used or separated to avoid affecting others.
- Use a Paper Towel: Line storage containers with a paper towel to absorb excess moisture and reduce spoilage.
- Ripeness Check: Use firmer apples first as they ripen slower; softer ones should be eaten sooner.
- Emergency Fridge Inspection: If you spot condensation, dry off affected apples and adjust your fridge to a slightly lower humidity.
- Check Fridge Seal: Ensure the fridge door seals tightly to prevent temperature swings that could cause texture damage.
- If Overripe: Use overripe apples for baking or applesauce to avoid waste.
- If Under Ripe: Leave apples at room temperature for a day to accelerate ripening.
- If apples seem soft when you bought them → They may have been stored incorrectly beforehand → Choose firm, heavy apples next time.
- If you find mold near the stem → Store in a slightly drier area → Ensure no condensation is present.
- If an apple bruises easily → Handle and store with care → Avoid overfilled bags or containers.
- If apples shrivel or dry → Your fridge might be too dry → Store in a sealed container or with a damp cloth.
- If apples spoil quickly → Check for nearby ethylene emitters → Relocate to a different area or container.
15–20 Minute Weekly Prep Routine
- Inspect your apple stock and remove any with decay or excessive bruising.
- Wipe all apples with a dry paper towel to eliminate surface moisture.
- Arrange in the fridge's crisper drawer with a liner of paper towel for added moisture control.
- Separate overripe apples and plan to use them in the next couple of days.
- Quickly smell-check and spot-check apples for mold or bruising every three days.
If I Only Had 2 Minutes
- Quickly check for bruises and mold.
- Separate any apples that need to be eaten soon.
- Wipe and return apples to a paper towel-lined drawer.
If your fridge is weird: If your fridge tends to freeze items at the back, avoid placing apples there to prevent frost damage. For too humid conditions, consider wrapping apples loosely in a paper towel to absorb excess moisture.
Common Mistakes and Their Fixes
- Leaving apples in a sunny area → quick ripening → Store in a cool, shaded spot.
- Storing with bananas → rapid yellowing of apples → Separate to slow down ethylene exposure.
- Ignoring bruises → spread of spoilage → Remove bruised apples immediately.
- Placing near onions or garlic → apple absorbs strong flavors → Store separately.
- Overcrowding in storage → increased bruising → Use larger containers or reduce quantity per bag.
- Not checking crisper settings → wrong humidity level → Adjust to medium for optimal apple storage.
- Leaving in a freezer→ entire batch likely damaged by frostbite → Verify fridge settings and storage location.
Food Safety Notes
Wash apples just before eating to prevent unnecessary exposure to moisture that can speed spoilage. Discard apples if you notice any signs of mold, off smells, or if they become overly soft and mushy.
Quick Apple Storage Table
| Produce | Best Storage | What to Avoid | Typical Problem | Quick Fix |
|---|---|---|---|---|
| Apples | Cool, dark, crisper drawer, vented container | Sunlight, high humidity, ethylene exposure | Bruising, fast ripening, mold | Separate, dry, monitor ethylene exposure |
FAQ
- What is the best type of apple for storage?
Firm varieties like Granny Smith hold up longest in storage. - How can I tell if an apple is overripe?
If it has a strong sweet smell and is soft to the touch, it's overripe. - Why do my apples keep bruising?
Avoid stacking and overcrowding them to prevent pressure damage. - Can I eat apples with brown spots?
As long as they are not moldy or smelly, cut away brown spots and use them quickly. - Is refrigeration absolutely necessary?
Refrigeration greatly extends shelf life by slowing ethylene production. - Why are my apples shriveling?
Your storage space might be too dry; consider an airtight container or humidity adjustments. - How do I prevent apples from rotting?
Keep them dry and away from ethylene emitters like bananas. - Do apples last longer in plastic bags?
Yes, when they're vented or loosely tied to allow air circulation. - Should I buy pre-cut apples?
Avoid if possible, as they spoil faster due to more exposed surface area. - How critical is moisture control?
It's very important; excessive moisture leads to faster mold growth.
Conclusion: Three Rules to Save Money on Apples
- Always choose heavy, firm apples with a fresh aroma.
- Store apples correctly to maintain ideal freshness and prevent waste.
- Inspect regularly to catch spoilage early and act swiftly.
Remember, keeping your apples fresh is mostly about staying attentive to their conditions. Happy apple picking and enjoy your fresh batch!
For more guides, visit our full list of posts.
Also, check out our buying checklist and prep tips.