Why Apples Brown After Cutting + 5 Easy Ways to Prevent It
Why Apples Turn Brown: The Frustrating Reality
We've all been there—cut up some fresh apple slices for a snack or a salad, only to find them turning an unappealing shade of brown before you've even finished your meal. This browning isn't just unsightly; it's a sign of unseen changes. Let's cut to the chase: apples brown because of enzymes. When you slice into them, you're breaking cell walls, causing an enzyme called polyphenol oxidase to react with oxygen, leading to oxidation, which is the culprit of browning.
Fast Rules to Keep Apples Looking Fresh
- Slice apples with a sharp knife to minimize surface damage.
- Keep apple slices submerged in water, adding a pinch of salt or sugar.
- Use lemon juice; its acidity slows oxidation.
- Sprinkle a little vitamin C powder on the exposed surfaces.
- Refrigerate cut apples promptly to slow down enzyme activity.
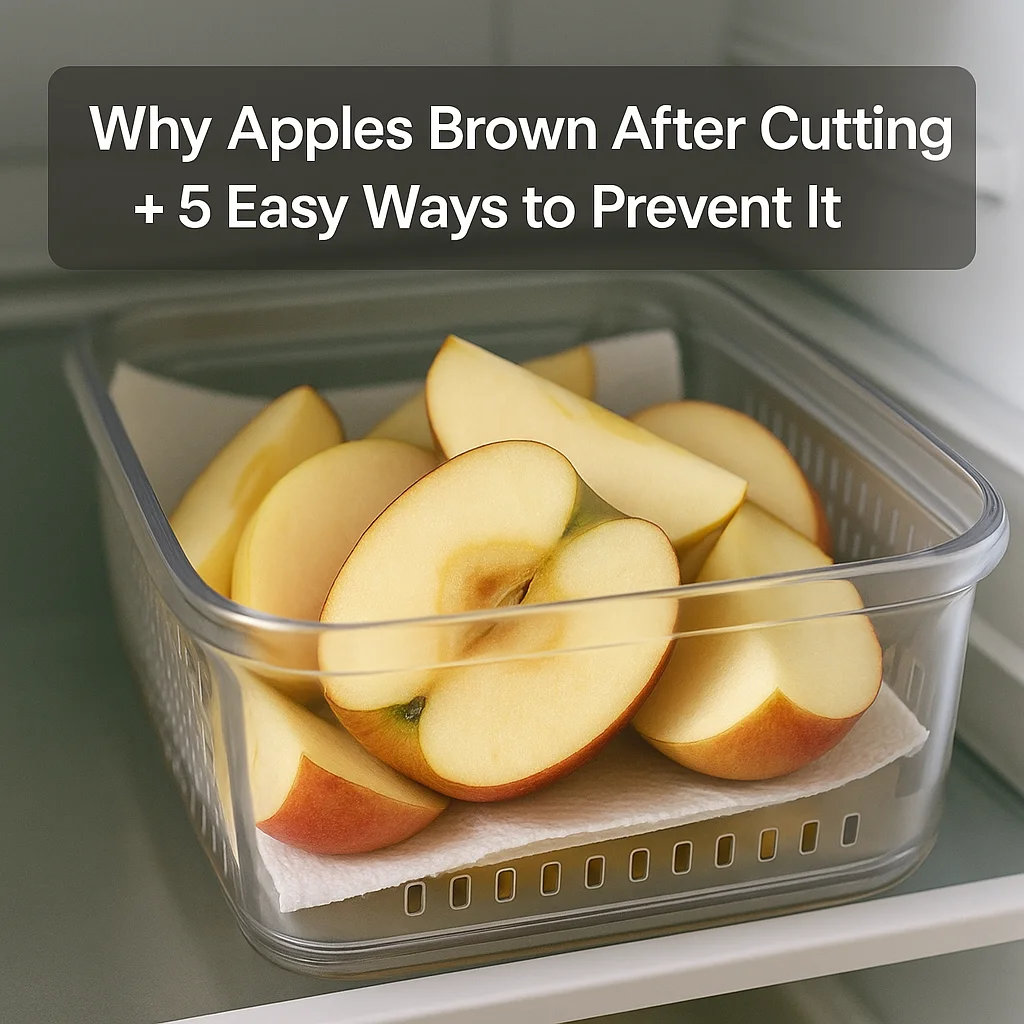
- Store cut apples in airtight containers to reduce oxygen exposure.
- Optionally, use commercial anti-browning solutions.
- Consume promptly for best texture and flavor.
Buying Checklist: Choose Apples That Stay Fresh Longer
Start with quality apples to ensure the longest freshness.
- Choose firm, unblemished apples—they're less susceptible to browning.
- Avoid apples with soft spots or punctures, as these are prone to faster oxidation and spoilage.
- If possible, pick apples with a glossy finish, indicating they're fresh and less likely to brown quickly.
- Refrigerate apples soon after purchase for optimal storage.
The Real Fix: Step-by-Step Solution
The goal is to minimize apple slice exposure to oxygen and control enzymes. Here's how to do it:
- Prepare your workspace: Wash and dry your knife and cutting board well. Why: Clean tools minimize contamination, ensuring a fresher cut. What to look for: Free of stains and residues.
- Slice carefully: Use a sharp knife to make clean cuts. Why: Neater cuts mean less cell damage. What to look for: Smooth, even slices.
- Apply lemon juice: Brush slices with lemon juice immediately. Why: The acidity reduces oxidization. What to look for: Even coating over the apple surfaces.
- Use cold water: Submerge slices in cold water with a pinch of salt. Why: It slows enzyme activity and oxidation. What to look for: Clear water, fully covering slices.
- Choose airtight storage: Place slices in an airtight container. Why: It restricts oxygen, slowing browning. What to look for: A firm snap on the container lid.
- Store in the fridge: Keep in a high-humidity drawer. Why: Cooler temps slow enzymes. What to look for: Consistently cool drawer.
- Ventilate briefly: Open container for a few minutes once a day. Why: Prevents moisture buildup and keeps texture. What to look for: No condensation inside.
- Check weekly: Inspect for freshness or decay. Why: Ensure edibility and quality. What to look for: Firmness and absence of slime.
- Organize fridge: Avoid fridge back; it may freeze. Why: Ice damages cell structure. What to look for: Maintain central placement.
- Use quickly: Try to consume within a few days for maximum freshness. Why: Even stored well, they age. What to look for: Firmness and color retention.
- If browning occurs anyway, increase lemon juice or reduce storage time.
- If apples are too tart after lemon, rinse briefly just before eating.
- If slices get slimy, dry them on a paper towel before refrigerating again.
- If flavor is off, use in recipes where texture is more important than taste.
- If freezing becomes a problem, adjust drawer closer to door, if possible.
- If moisture builds up, add a dry paper towel to container.
- If they soften too quickly, cut in larger chunks; they last longer this way.
- If the problem persists, consider changing storage containers or checking fridge settings.
15–20 Minute Weekly Prep Routine
- Gather: Clean knife, cutting board, lemon juice, airtight containers.
- Wash: Rinse apples under cold water to remove dirt.
- Dry: Pat completely dry with a kitchen towel.
- Slice and coat: Cut the apples and brush with lemon juice.
- Submerge: Quickly transfer slices into a cold water mixture with a pinch of salt.
- Store: Pack in airtight containers and refrigerate. Position in the mid-fridge.
If I only had 2 minutes
- Rinse off with water to clean.
- Slice quickly and apply lemon juice immediately.
- Store in a zip-lock bag if pressed for time.
If your fridge is weird: If too dry, you might need to add a damp paper towel; if too humid or the back wall freezes produce, adjust storage distance.
Common Mistakes and How to Fix Them
- Skipping the lemon juice → Faster browning → Always keep lemon handy.
- Using a dull knife → More browning → Sharpen your knives regularly.
- Not using airtight container → Oxygen exposure → Use firmly sealing containers.
- Leaving apples wet → Sliminess and decay → Dry before storing.
- Storing in too warm fridge spot → Quick spoilage → Use cooler areas or drawers.
- Cutting too far ahead of time → Loss of flavor and texture → Prep closer to consumption.
- Inadequate inspection before storage → Early spoilage → Always check for firmness and color.
- Using the wrong apple variety for storage → Texture change → Use firmer varieties like Honeycrisp.
- Not refilling water regularly → Browning returns → Refresh water daily.
- Placing near strong-smelling foods → Unchanged aroma → Store away from odorous items.
Food Safety Notes
- Wash apples under running water before cutting to minimize bacteria.
- If you see mold, discard it immediately to avoid contamination.
- If apple slices become very soft or discolored, it’s better to toss them.
- Keep cut apples no longer than five days in the fridge for peak freshness.
Quick Table
| Produce | Best storage | What to avoid | Typical problem | Quick fix |
|---|---|---|---|---|
| Apples | Airtight in fridge | Exposure to air | Browning | Lemon juice coat |
| Apples (whole) | Fridge drawer | High humidity zones | Soft spots | Check firmness |
FAQ: Apples Browning and Prevention
- Why do apples turn brown after being cut? This is due to oxidation from enzymes reacting with air.
- Can I use lime instead of lemon? Yes, lime works similarly by reducing oxidation.
- Will all apple types brown the same? No, varieties like Granny Smith brown less quickly.
- Is it safe to eat brown apple slices? Generally yes, but consume soon for best taste.
- Can soda water prevent browning? Yes, the carbonation can help reduce oxidation.
- Does adding sugar help? Yes, sugar can act as a temporary preservative.
- How long will lemon juice keep apples? Several hours to a day, as acidity affects the enzyme activity.
- What if I don't have an airtight container? Use a tightly sealed plastic bag.
- Can I freeze apple slices? Yes, but they may lose texture upon thawing.
- Why did my coated apples still brown? You might need to increase the quantity or frequency of coatings.
Closing Thoughts
- Always have lemons or limes to hand—they're your best anti-browning allies.
- Store prepared apples correctly to avoid waste and save money.
- Investing in decent storage containers pays off in freshness.
With these easy tips, you'll not only save your apples from browning but also save money by wasting less. Want to learn more? Check out our full list of guides on all things fruits and veggies.
For detailed comparisons and other problem-solving articles, visit our subset on smart food choices.